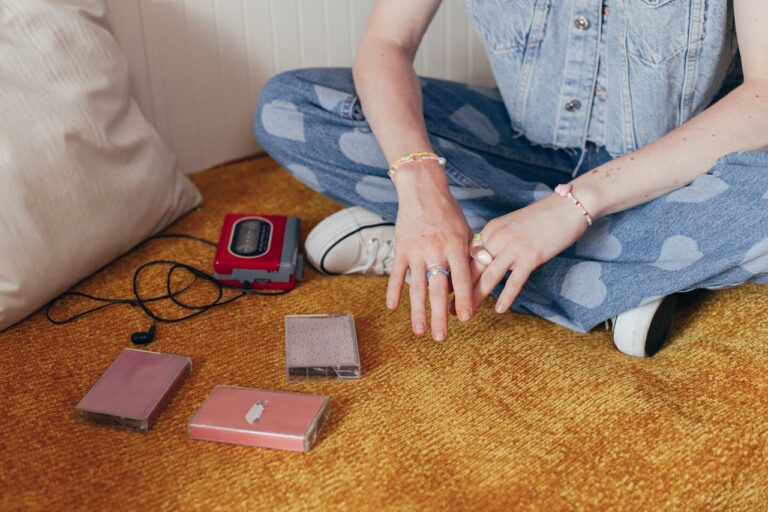
You have probably seen it on the web, Instagram, in magazines, and more…
Flatlay photos belong to a genre of still life. It has so many versions and is fun to make and play with. It can contain all sorts of objects in all shapes and sizes arranged in a well-thought composition.
I love flatlay images, and over the years I’ve been flatlaying with my own clothes, accessories, and makeup and got really amazing results. Want to take the best flatlay photos? stick to these rules and start shooting your signature flatlays of your own!
What Is Flat Lay Photography?
Flat lay images are a popular choice for website headers, product displays, and social media posts due to their clean and visually appealing aesthetic.
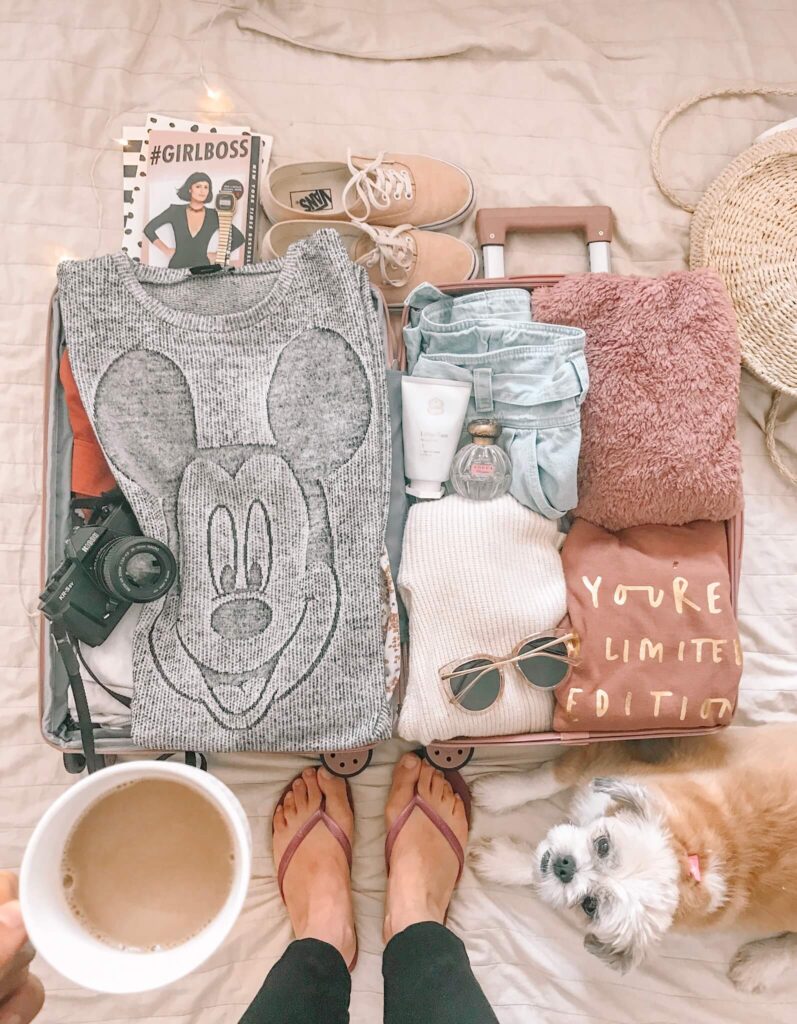
Flat lay photography is a popular style of photography where items are laid out flat on a surface and captured from a bird’s-eye view. This technique is commonly used by photographers, bloggers, and social media influencers to create visually appealing and well-organized images.
By arranging items strategically and playing with composition, lighting, and perspective, flat lay photography can showcase products, tell stories, or convey a specific mood or theme. It is a versatile and effective way to capture attention and convey information in a visually engaging manner.
Examples Of Flat Lay Photography
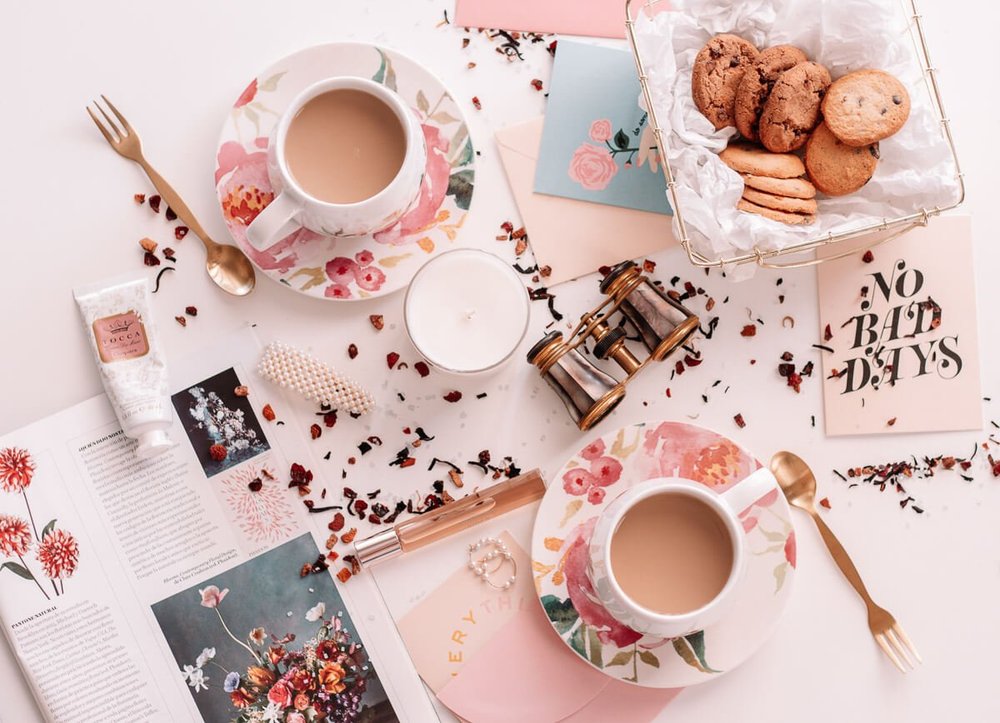
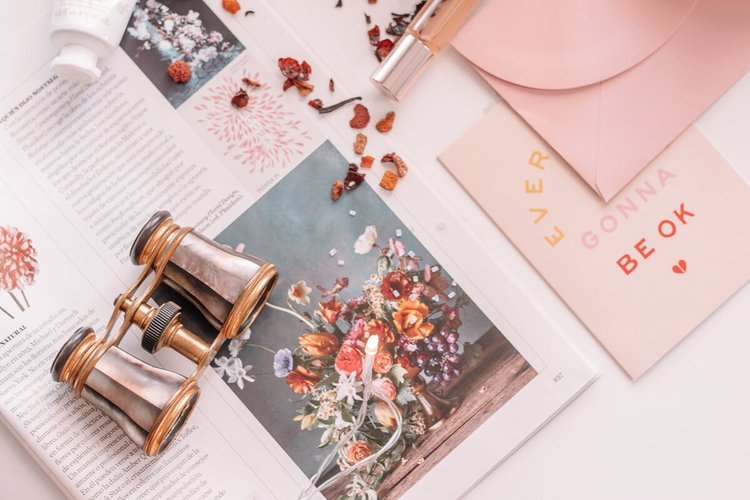
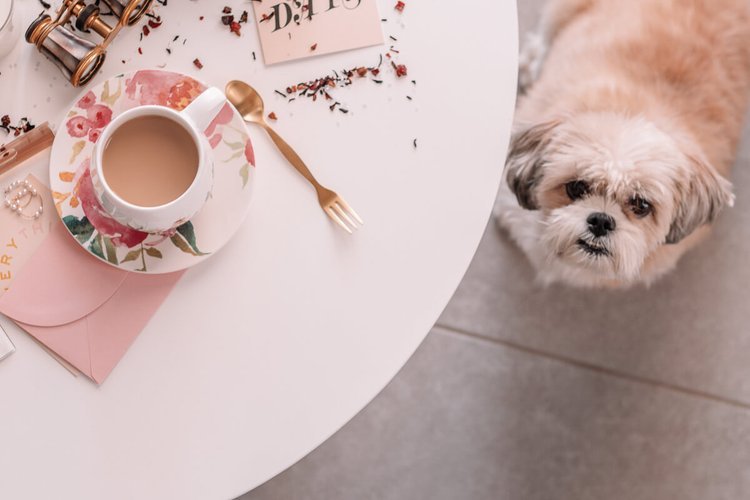
Back in the day, when I owned a professional camera I took some flat lay images. Here are a few examples you can view(free download on our Unsplash profile here):
How To Create Stunning Flatlay Photography: 6 Essential Tips
Flatlay photography is a creative and engaging way to tell stories through images. Whether you’re a blogger, a small business owner, or just enjoy capturing stunning photos for social media, these tips will help you craft flatlays that truly stand out. Drawing from my years of blogging and content creation, I’m excited to share my top advice for creating beautiful and eye-catching flatlays. Let’s dive in!
1. Choose The Right Background
When it comes to flatlay photography, the background you choose sets the tone for the entire shot. I usually opt for bright and neutral backgrounds because they make the colors of my objects pop. White fabrics, light wood, or marble work great. Sometimes, I like to add a touch of coziness with a fluffy fake fur background—it’s perfect for giving your photos a warm and inviting feel. My go-to is my white coffee table because it’s simple and versatile.
2. Define Your Color Palette
To create a cohesive flatlay, it’s crucial to decide on a color palette. I love sticking to a specific range of colors for each shoot. For example, all pinks, all browns, or a mix of pastel shades. While some colors blend beautifully, others can clash. I generally avoid using too much black with pastel flatlays because it tends to be overpowering. If you do need to use darker shades, keep them to a minimum to maintain the light and airy vibe.
3. Start From The Center
The key to creating a balanced flatlay is to start with your most eye-catching object in the center and build outwards. This method helps you arrange your items in a way that feels natural and organized. Once you have your central piece in place, you can add smaller objects around it to create a visually pleasing composition.
4. Make Use Of Natural Light
Natural light is your best friend in flatlay photography. I prefer to shoot during the day when the light is soft and even. Placing your setup near a window or on a porch can give your photos a beautiful, natural glow. Harsh artificial lighting can create unwanted shadows and alter the colors of your objects, so try to stick with natural light whenever possible.
5. Capture Multiple Photos
Don’t be shy about taking lots of photos from different angles and with various adjustments. Once you’ve set up your flatlay, it’s easy to experiment with different camera positions and object placements. This way, you have plenty of options to choose from, and you’re less likely to miss the perfect shot. I like to take a few photos, review them, and then make any necessary adjustments before shooting again.
6. Get Creative With Props
Props are a fantastic way to add personality and interest to your flatlays. You can use fairy lights, candles, unique fabrics, or even small plants to create depth and texture. Recently, I added a cup of tea and some sprinkles to my flatlays, and they turned out super cute! Don’t be afraid to experiment and let your creativity shine.
Bonus Tip: Edit Your Photos
After you’ve taken your shots, don’t forget to edit them to bring out the best in your photos. I use Adobe Lightroom with my custom presets to give my images a cohesive look. For cutting and resizing, I like Picmonkey because it’s user-friendly and offers a lot of flexibility.
With these tips, you’ll be well on your way to creating stunning flatlays that captivate your audience. Happy shooting!


