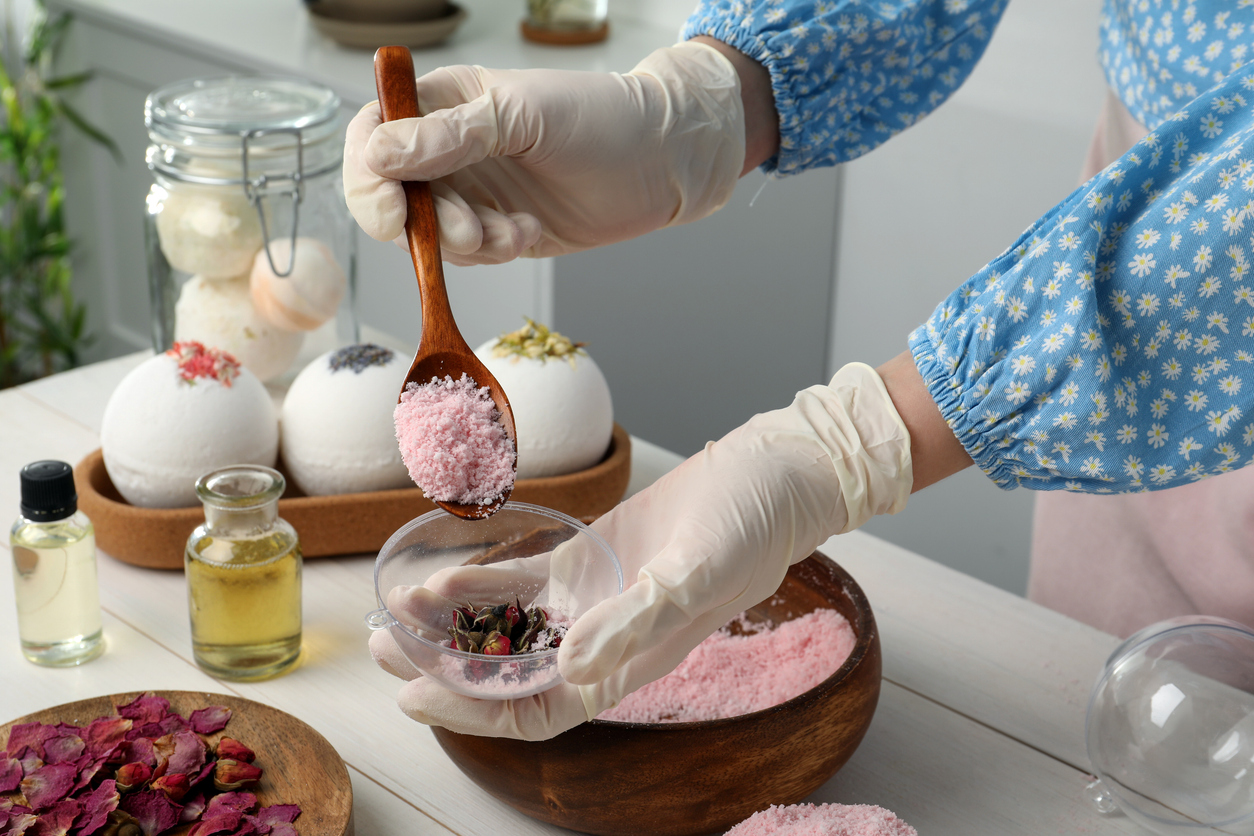
We love bath bombs! There’s nothing like a warm bath that fizzes and swirls with soothing scents and soft colors, transforming your bathroom into a spa sanctuary. That’s the magic of bath bombs — and making them at home is easier than you think!
How to Make Homemade Bath Bombs
With just a few ingredients and a dash of creativity, you can craft your own bath bombs tailored to your favorite scents and styles.
Tools:
- A large mixing bowl
- A small bowl or jar
- Whisk or spoon for mixing
- Bath bomb molds (or DIY alternatives like muffin tins or silicone molds)
Bath Bombs Molds
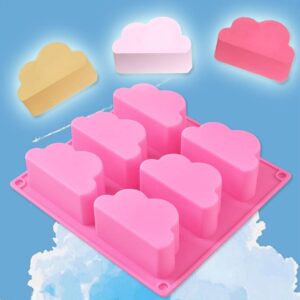
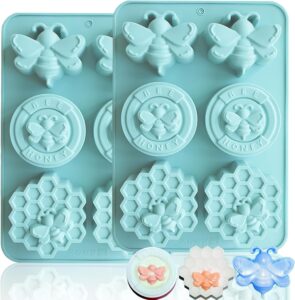
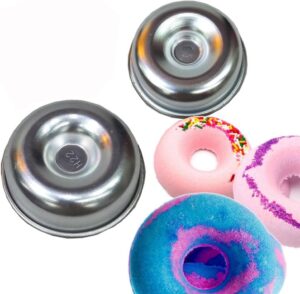
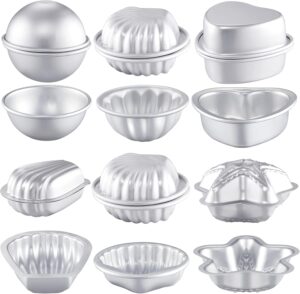
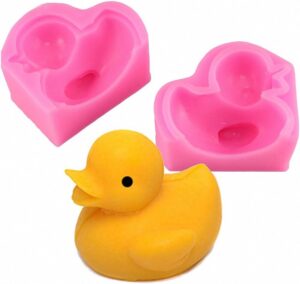
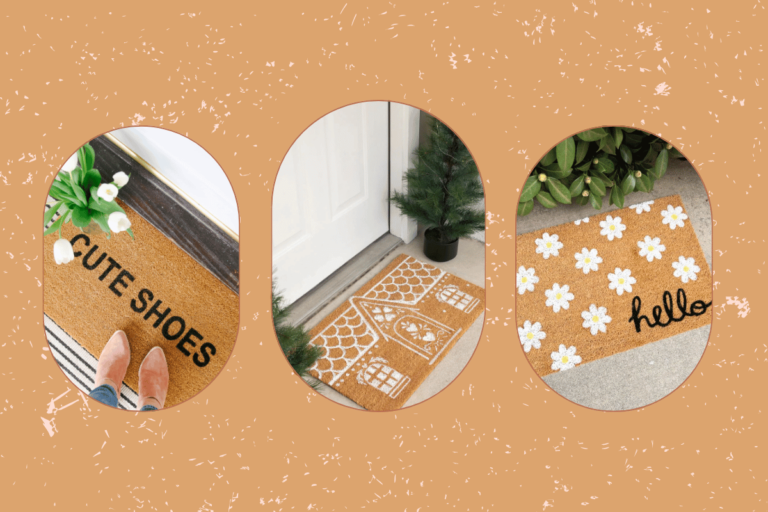
As mentioned above – you can buy the standard round bath bomb molds, or you can use alternatives such as muffin and pralines molds. However, if you want to create bath bombs for Halloween or bath bombs that matches your party theme, you can find bath bombs molds in all shapes like those:
Basic Bath Bombs Recipe
Ingredients
The recipe makes approximately 2 to 3 bath bombs using a standard round mold with a diameter of 2.37 inches (6 cm).
- 4 ounces / 115 g baking soda
- 2 ounces / 55 g cornstarch
- 2 ounces / 55 g citric acid
- 2 ounces / 55 g Epsom salt
- 1 to 1½ teaspoons water
- 1¼ teaspoons oil (like coconut or olive oil)
- 5–10 drops of your favorite essential oil
- 1–2 drops food coloring (optional)
Homemade Bath Bombs step-by-step instructions
Store-bought bath bombs are lovely but can be pricey. Making them at home not only saves money but also gives you full control over the ingredients, ensuring they’re skin-friendly and uniquely yours.
So, gather your ingredients, put on your crafting hat, and create a little magic for your next bath. Trust us — the fizz is just the beginning.
1. Mix the Dry Ingredients
In a large bowl, whisk together the baking soda, cornstarch, citric acid, and Epsom salt. These are your bath bomb’s foundational ingredients: baking soda and citric acid provide the fizz, while cornstarch and Epsom salt soothe your skin.
2. Combine the Wet Ingredients
In a small bowl or jar, mix the water, oil, essential oil, and food coloring. The essential oil is your opportunity to personalize your bath bombs — lavender for relaxation, peppermint for invigoration, or citrus for a cheerful boost.
3. Blend Wet and Dry Mixtures
Slowly drizzle the wet mixture into the dry ingredients, whisking continuously. This step requires a little patience; adding the liquid too quickly can activate the fizz prematurely. The mixture should reach a consistency similar to damp sand and hold its shape when squeezed.
4. Mold the Mixture
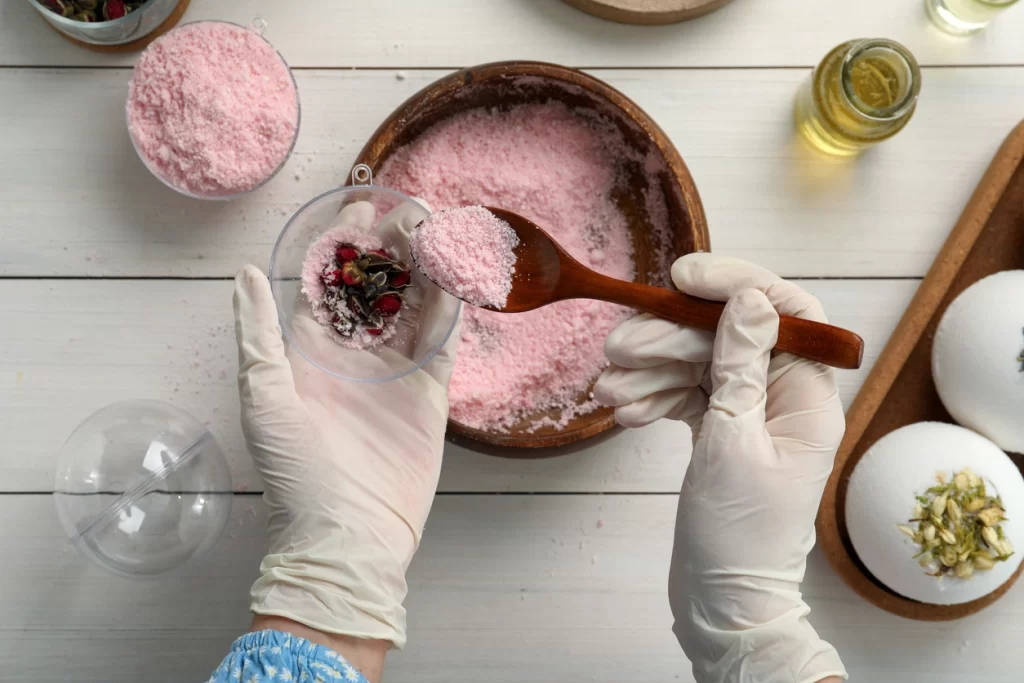
Pack the mixture tightly into your bath bomb molds. Overfill each side slightly before pressing the halves together firmly. If you’re using alternative molds, press the mixture in firmly to avoid cracks later.
5. Let Them Set
Allow the bath bombs to dry in their molds for at least 24 hours. Once hardened, gently remove them from the molds. Store them in an airtight container to preserve their fizz and fragrance.
Pro Tips for Bath Bomb Success:
Moisture Control:
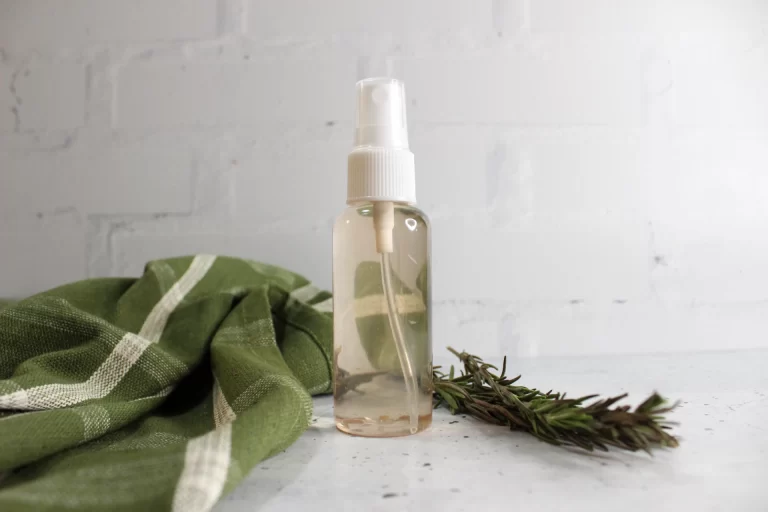
If the mixture feels too dry, lightly mist it with water from a spray bottle. Avoid over-wetting, as this can cause premature fizzing.
Get Creative: Add Petals
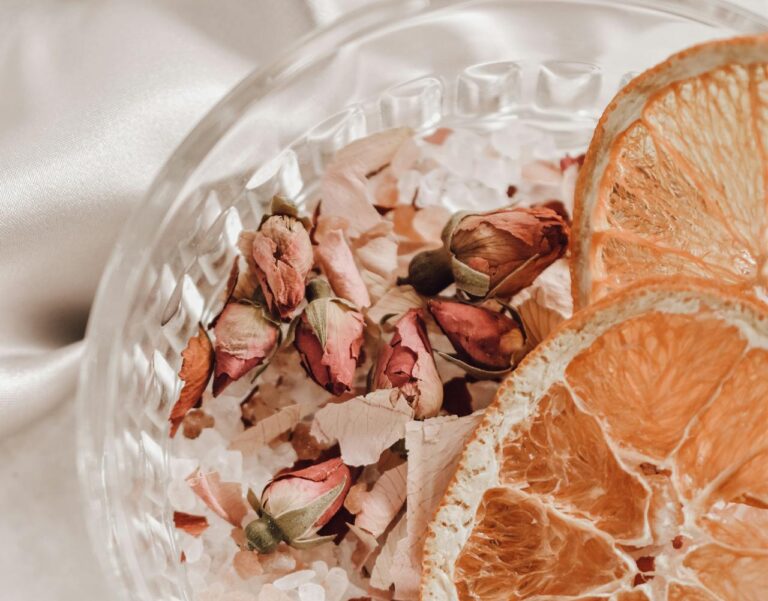
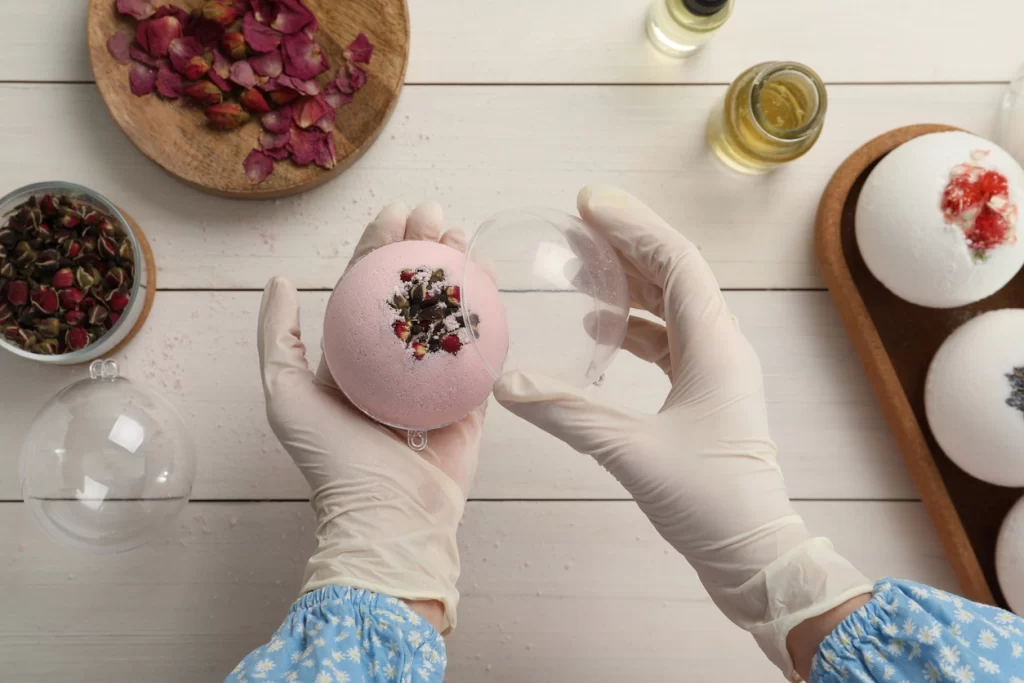
Experiment with natural additives like dried flowers, glitter (biodegradable, please!), or multiple colors for a marbled effect. For example, before you start molding, you can drop a few petals before adding the mixture to add a colorful topping to your bath bomb.
Perfect Timing:
Bath bombs make fabulous gifts, so consider making a batch for upcoming holidays, birthdays, or self-care treats.


